
To create a studyplan, go to Site administration -> Courses -> Studyplans -> Manage Studyplans
You will now see a screen like the following
If you do not yet have an exported studyplan to import, pick Add study plan to create a new study plan
You are now asked to provide details for this new studyplan
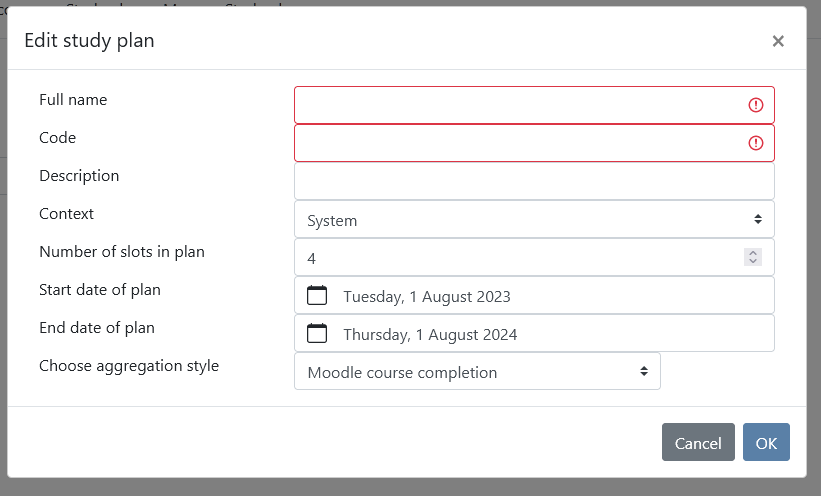
The screen allows you to specify the full name, code or short name and description for this specific plan
You can also choose the category context in which to place this study plan. This is useful to manage access rights in a large moodle installation
The next options give more information about the timing of the plan. The number of slots to place courses in the plan can be specified. This is usually used to show the different periods in the academic year. You can expect this to become more explicit in upcoming versions of the plugin. The start date and end date of the plan help to show students and teachers which plans are current, and which were finished in the past. They will default to start on august 1 of this year and continue until august 1 of next year, since that matches most academic years.
Finally we have the aggregation style, which is ised to determine how the courses show grades. There are a number of options available:
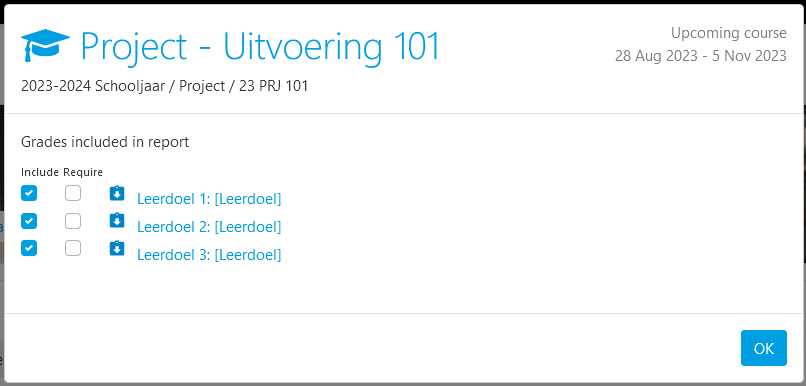
With this aggregation method you manually select which grade items are used in the progress report. The design intent is to prepare a number of gradable items, and describe the learning objectives for each course and use these to indicate completion. While any grade will be properly shown, it makes most sense to use a scale which indicates if the student has either met the objective or not. The teacher or studyplan editor can also mark certain gradables/objectives as required or compulsory.
The final outcome for the courses will then be determined based on the percentage of met objectives, provided that all required/compulsory objectives are met
The added options allow you to set the threshold percentage of completed objectives in each course to determine the outcome as excellent, good or completed. If an objective is not met it will be marked as either "progress" (meaning that the student's work needs to be improved) or "incomplete" (meaning that the student has not started working on this goal yet)
When failed results are enabled, any "progress" will be marked as "failed" when the course end date has passed
Finally, you can opt to have an object ive
Before you can add courses to the studyplan, you have to define study lines. You use them to group together courses in logical categories. Most likely these are categories or themes within your curriculum.
For performance reasons, study lines can only be edited when in study line edit mode. The courses and flow between them will be hidden, so the lines can be reshuffled and edited. You can toggle studyline edit mode with the toggle switch edit stydy lines
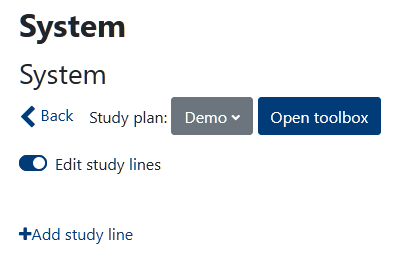
Using the Add study line link, you can add a new studyline. You will then get a new window where you can enter details and select a handle color for this line
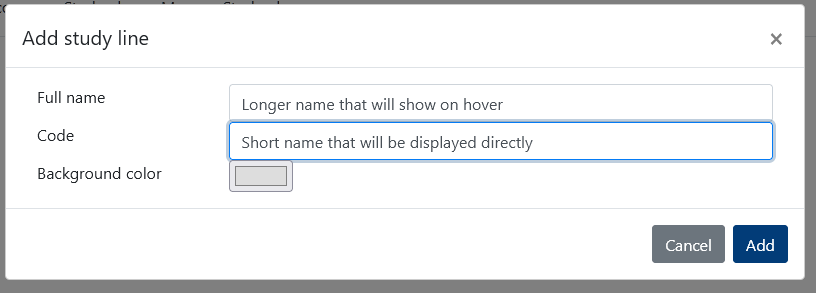
Here you can enter a full name for the study line that will be shown when you hover over the name, and a code that is a short name which will be shown in front of the study line. Often this can be a short code. The color you pick will be shown in a little tab in front of the study line.
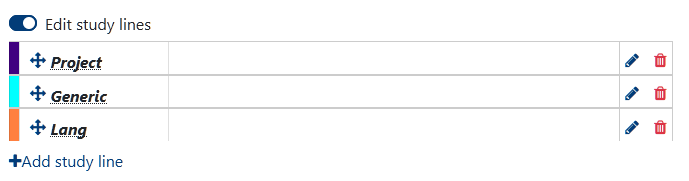
You can drag study lines to re-order them after you place them using the crosshair arrows
Using the and symbols you can edit and delete the studyline (only empty studylines can be deleted)
To add courses, you need to exit study line edit mode and open the toolbox using the button. The toolbox will now open on the right of the screen. (Using the toggle button on top, you can also switch it to the left of the screen if needed)
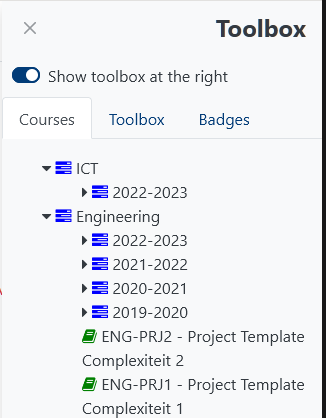
The toolbox shows you all the categories you have access to and the courses in them. Simply drag the course you want to include from the toolbox and drop it in one of the slots in the studyplan that now appear.
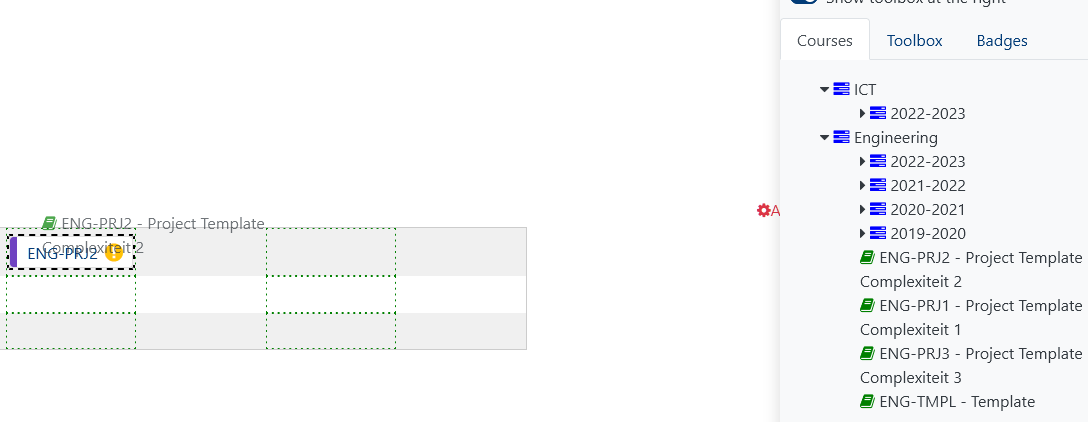
To re-arrange the courses in the study plan, simply drag and drop them from the places they are now in.
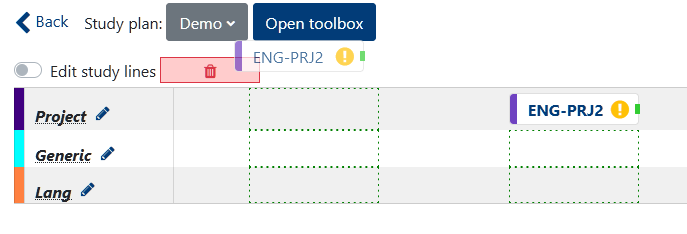
To remove a course from the study plan, simply drag it to the red garbage bin that appears on dragging
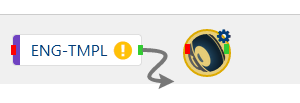
Once a course is added to the studyplan, an icon shows if it needs to be configured () or is already configured ().
By clicking on the course title (it's shortname, or a configured custom field), you can view the details, and configure it where applicable. The configuration is dependent on the aggregation method for the study plan:
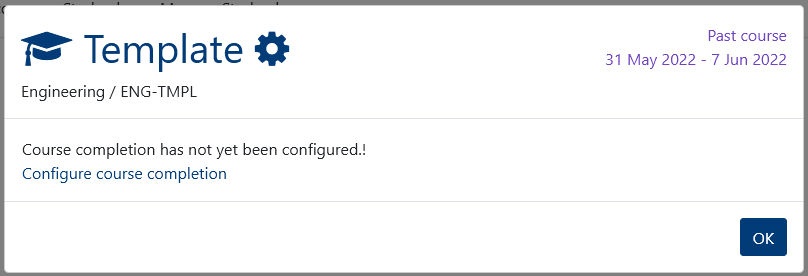
When using moodle course completion as a base, all configuration is done in the course's completion settings. The course details show a gear icon in the title, which takes you directly to the course completion configuration. Once it is configured, the course details will show you exactly how the course completion is configured
In this mode, the course details show you all the gradable activities in the course. You need to select which of them will be used to determine progress and will be shown to the students and teachers in the studyplan view. You can also mark gradables ad required. Gradable activities marked as such will all need to be completed for the course to be marked as completed, regardless of the minimum percentage configured
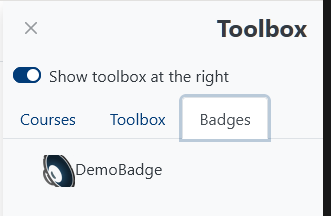
The toolbox also shows you the site-wide badges that are available for students. These can be dragged into the slots around and between the courses.
When you click on the icon in the badge it shows you additional information about the badge
You can draw arrows between the courses and add flow indicators to show students how different courses are related in the studyplan
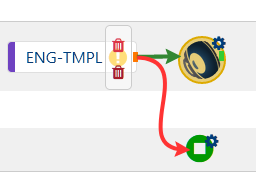
You can draw arrows by dragging them from one course or flow indicator to another. Look for the green square on the right of the item. Then click and hold to drag the arrow. Once you do, a red square will appear on all the items that the arrow can end on. Drop the end of the arrow on one of those red squares to complete the arrow.
To remove an arrow, click on the green square where the arrow starts. A red trash can icon will appear for each line that starts there. Hover over the trash can icons to find the line you want to remove. The arrow for each trash can icon will be highlighted in red once you hover over it with your cursor. Once you find the arrow you want to remove, click the trash icon.
To close the trash icon menu without removing an arrow, click the green square (now red) again.
You can add the following flow indicators:
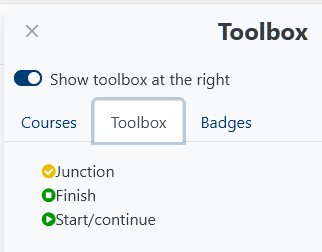
By clicking on the icon in the junction and finish indicators, you can select how the incoming arrows will be combined. The indicated numer of arrows need to be completed in order to show the indicator as completed
You can associate users with the studyplan in two ways: Individually or by cohort
The recommended way is association by cohort, since that allows to dynamically allocate users to courses and studyplans by allocatong them to cohorts. Assigning students to a studyplan individually is only useful in some fringe cases.
To edit associations, click on the associations link in the studyplan, or click on the icon in the studyplan overview.
You will now get the association window
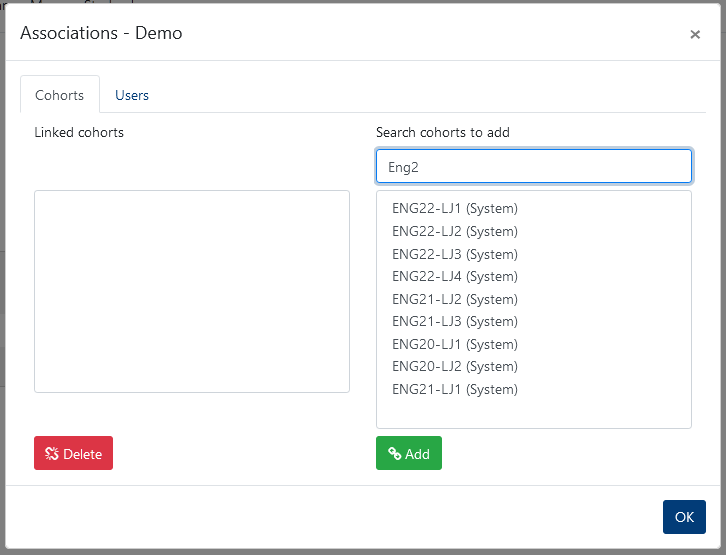
In this window, type the first few letters of the cohorti> you want to link into the search bar. The matching cohorts will now be shown.
Click to add the cohort to the studyplan
To remove a cohort from the studyplan, select it from the left list, and click
In order to link individual students, click students and follow the same procedure as lined out above for cohorts.
If you have cascading cohort sync enabled (see configuration), the system will automatically create a cohort-sync enrolment to all courses in the studyplan for each cohort you have linked here. It can also automatically remove those enrolments when a cohort is unlinked from a studyplan.
Individually linked students can also be cascaded down to the courses (if the feature is enabled). In those cases a manual enrolment is created for the users in each of the studyplan's courses. Those enrolments will never be automatically removed, since that might deprive a student of study content.